Pages

Tuesday, January 31, 2017

Masculine Anniversary Card - Colored Heat Embossing

Hi Everybody,

I made this card for my boyfriend, our 3 year anniversary is 1/30.  I wanted to make something fun so I used this cute stamp and embossed vellum in different blue colors, which is his favorite color.  I had bought a variety pack of different color embossing powders a long time ago on Amazon and this was the first time I had used them and I really liked them.


The focal point stamp is about 6" long!   I don't think I've used a stamp that long unless a background stamp.  I didn't think this design through very well because when it came time to put it all together, I realized that I didn't have anything to hide my adhesive behind when adhering the vellum.  I tried a few different adhesives but you could see them all so I cut out the borders using a couple Lawn Fawn dies with dots and dashes and then hid the adhesive behind them which in turn covered a tiny bit of my mittens on each side, oops.  I had a slight issue with the top border so I then used the XOXO border at the top to cover that. Ha Ha!  Have you ever run into an issue that turned into having to try something else and then on and on.  I didn't have to mail the card so it didn't matter what size it was.  He displays the cards I make on a shelf in his reload room.

It's hard to think of what to make for masculine anniversary cards but I think I actually pulled it off.

Thanks for stopping by and have a great day!


Regina

Friday, January 27, 2017

Someone Special Encouragement Card

Hi Everybody!

Today's card is one that I made for a friend that is going through a rough patch and I'm hoping this card will make her smile and offer some encouragement for the future.


Supplies:


  • Gina K Designs Heavy Base White 120# cardstock for the base, Dusty Rose and Black Onyx card stock
  • Close To My Heart Slate card stock
  • Versafine Onyx Black Ink
  • WOW Clear Gloss Embossing Powder
  • Deep Red Woodcut Flowers Background Stamp  (LOVE!)
  • Stampendous Hope Verses
  • Gina Marie Designs Die
  • X Cut Die - Mini Sentimental Die - Someone Special (words and butterfly with this set)
  • Paper Accents - Vellum Variety Pack
  • American Crafts - Christmas Glitter Paper (Silver)
We cardmakers have the power to put a smile on a face, change someone's mood from gloom and doom to hopeful, and make people feel special because they were thought of.  
 
Thanks for stopping by and have a great day!


Regina

Wednesday, January 25, 2017

Layered Wildflowers Stencil Sympathy Card

Hi Everybody!

I made this card to serve as a sympathy card.  Some people think that sympathy cards should be neutral colors, such as black, beige, etc., I prefer to make thinking of you cards that serve as sympathy cards and make them pretty colors but still keep them simple.


I used a Tim Holtz stencil called Layered Wildflowers.  I love this stencil because this design is so versatile.  I can work for just about anything.  I sponged some Papertrey Ink colors, Berry Sorbet and Aqua Mist.  I also used the coordinating Berry Sorbet card stock.  Aren't these colors so pretty together?  I added a few white enamel dots by Eyelet Outlet.  I got these and many other colors from Gina K Designs.  I was going to add a link but I don't see them on her site at this time but you can call and get them I'm sure because they are in her new store, which I visited by the way in Greendale, WI.  I'll do another blogpost about this great trip.  The sentiments are from Close To My Heart called Card Chatter - Sympathy.  I used Versafine Onyx Black Ink and embossed with clear embossing powder to give it a shine.  Last but not least, I made an envelope liner using a die I love by Papertrey Ink.  Here's a link to this die for an envelope liner.  I think it looks so pretty and classy to add an envelope liner and it just takes a minute.  It fits perfectly!  I sometimes use patterned paper for these as well.  This berry sorbet paper has matching patterned papers that I've used for these.

I've also used embossing pastes with this stencil and it looked great!

Have a great day!


Regina


Tuesday, January 24, 2017

HELLO Stencil Background

Hi Everybody!

Remember me??  LOL!  I can't believe I fell off the radar for so long.  Sometimes life throws a curve ball and you have to change things to compensate for that.  I got busier than expected with Etching, such as Yetis, Corkcicles, Pyrex, etc.  I wasn't happy though.  My boyfriend made the comment one day, "you should go make some cards".  I asked why he would say that and he said, because you're happy when you make cards.  I have decided to make cards a priority in my life again and etching will be a side thing.  It was the other way around.  Plus, I need the 'therapy' that cardmaking provides.  All I think about is the card I'm working on.  What I have been working on the last year are coloring classes at www.kitandclowder.com.  I signed up for monthly Copic and Prismacolor classes.  I'll post some pics of the things I've colored in another post.   Anyway, I'll stop rambling now and show you the card I made.


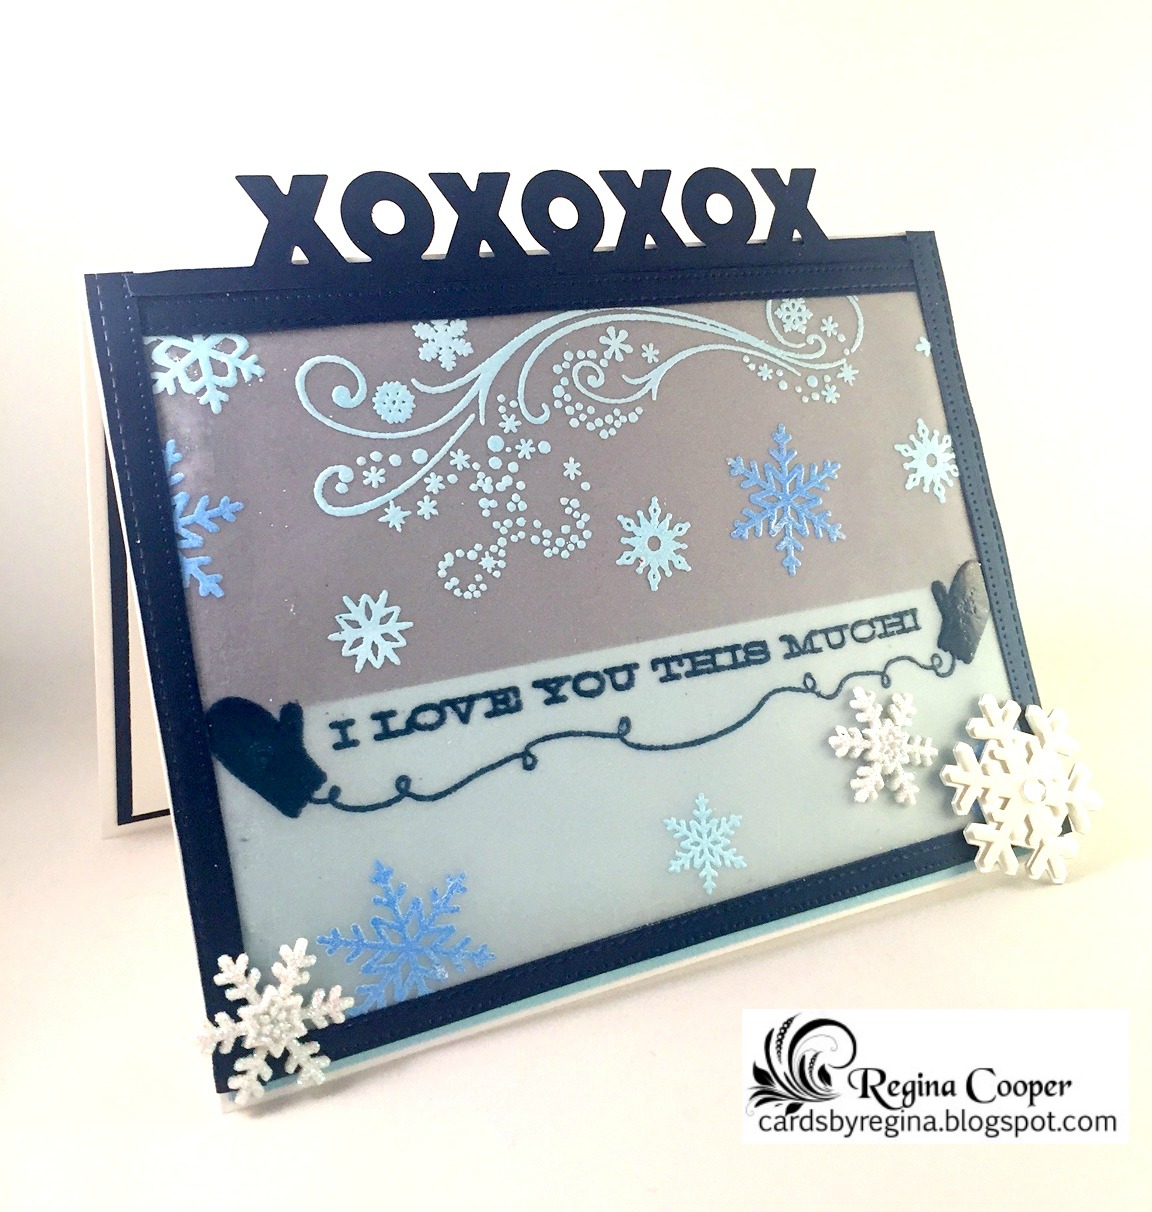
I made this card to just put a smile on a friend's face when she opens it.  I wanted something colorful and happy.  She's been going through some difficult situations.  I think we as cardmakers can do wonderful things with our cards.  By the way, I apologize for the pics... long story but my dog can't go up and down the stairs and my craft room is up there so I moved some things downstairs.  I need to bring my light box down here to take better pics.


I used a stencil from My Favorite Things called Moroccan Tiles.  I am loving the color combos I'm seeing now with the pinks, yellows and oranges.  I've seen a lot of Valentine cards using these colors.  I think I'll jump on that bandwagon and make some too.  I used a Lawn Fawn Hello die.  I love word dies!  I used a stamp set from Close To My Heart called, Sending Love Occasions.  This set and the Card Chatter set are great for anything you might need. (I'm not sure if they are still currently sold)
I know I'm a little behind the times since I haven't made cards in awhile but I LOVE FOIL!  I used DecoFoil and a Mini Minc.  How fun!

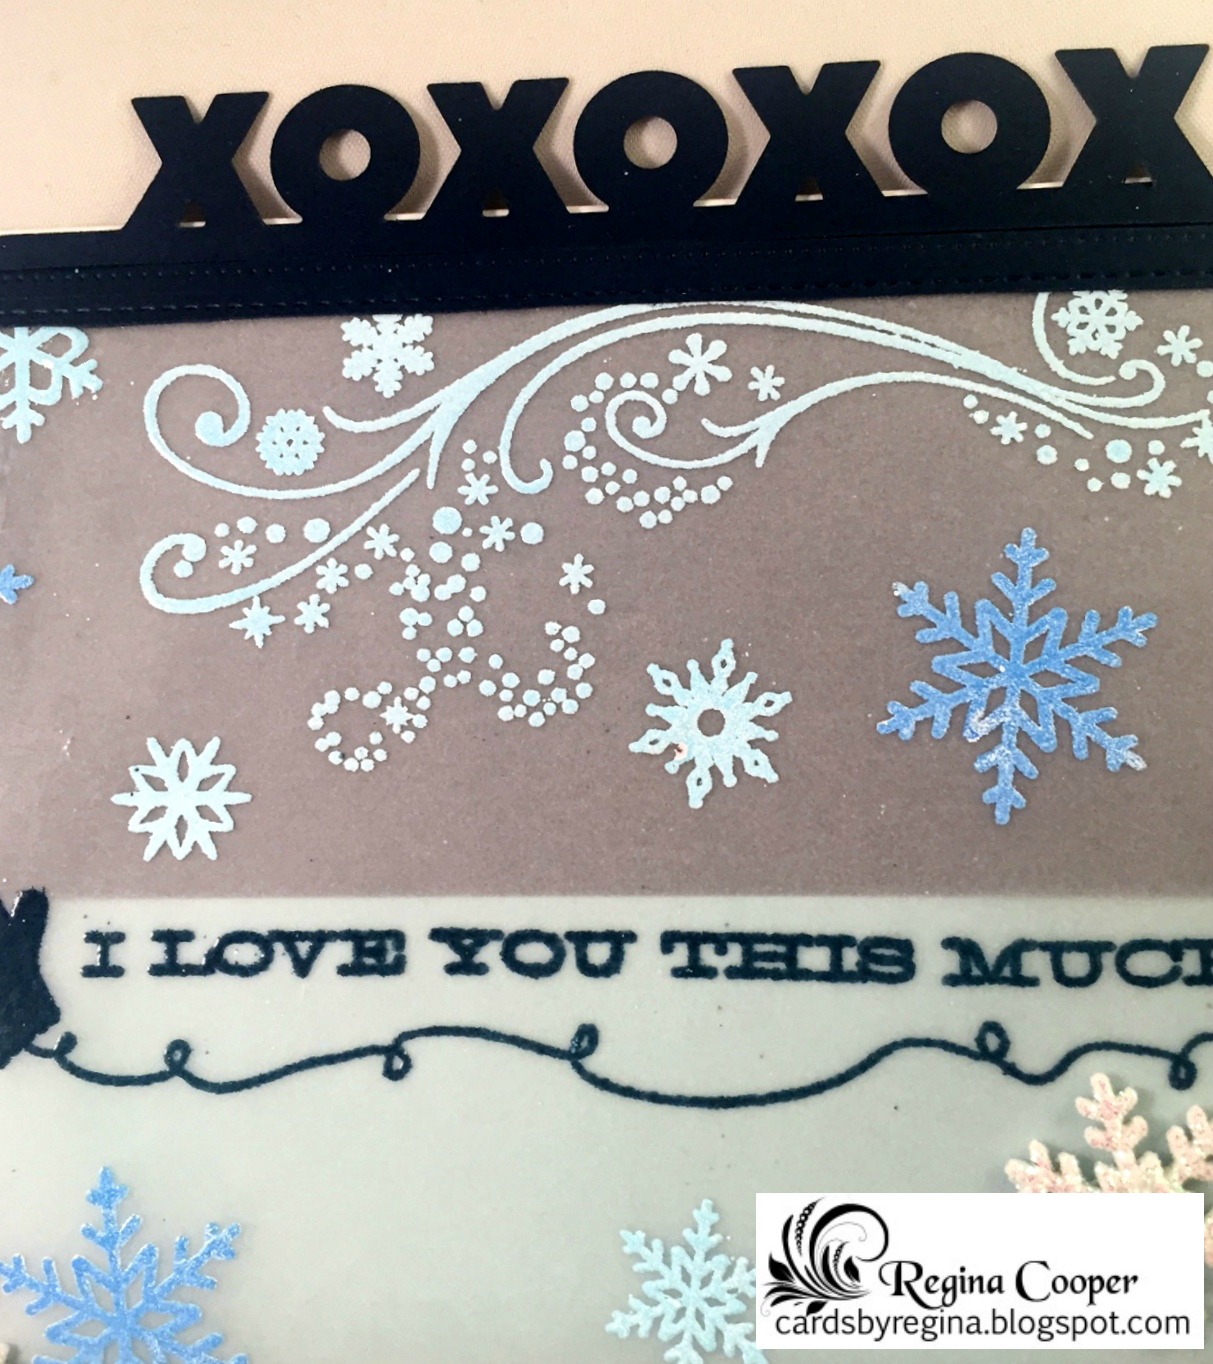
So I just sponged ink on the stencil with Tim Holtz Distress Ink, Worn Lipstick (great color for this color combo I mentioned), Gina K Designs Inks in Innocent Pink and Sweet Corn. The pink and yellow overlapping make that orange color.  These inks match her awesome card stock colors.  She also has the same colors in ink cubes.  I stamped the sentiment on the inside with the Dusty Rose ink.  I used my MISTI to make sure it was lined up.  How did I do this without that awesome tool??  I used Gina K Designs White Heavy Base Weight Cardstock for base and Dusty Rose CardStock.  How pretty is that foil?  I used dies from My Favorite Things called Scribbles and the leaves are Royal Leaves Die.  I glued the foil down with a Zig glue pen.  I forgot to put some Stick It on the back of the dies when I ran them through.  By the way, I used Toner Paper to cut out the dies to make the foil stick to it.  I don't have a laser printer.  Sequins from my stash.

I hope you liked this card.  I am so ready to jump back into this, do some challenges, etc.

Have a great day!!


Regina