Pages

Tuesday, February 14, 2017

Tiffany Blue Valentine Card

Hi Everybody,

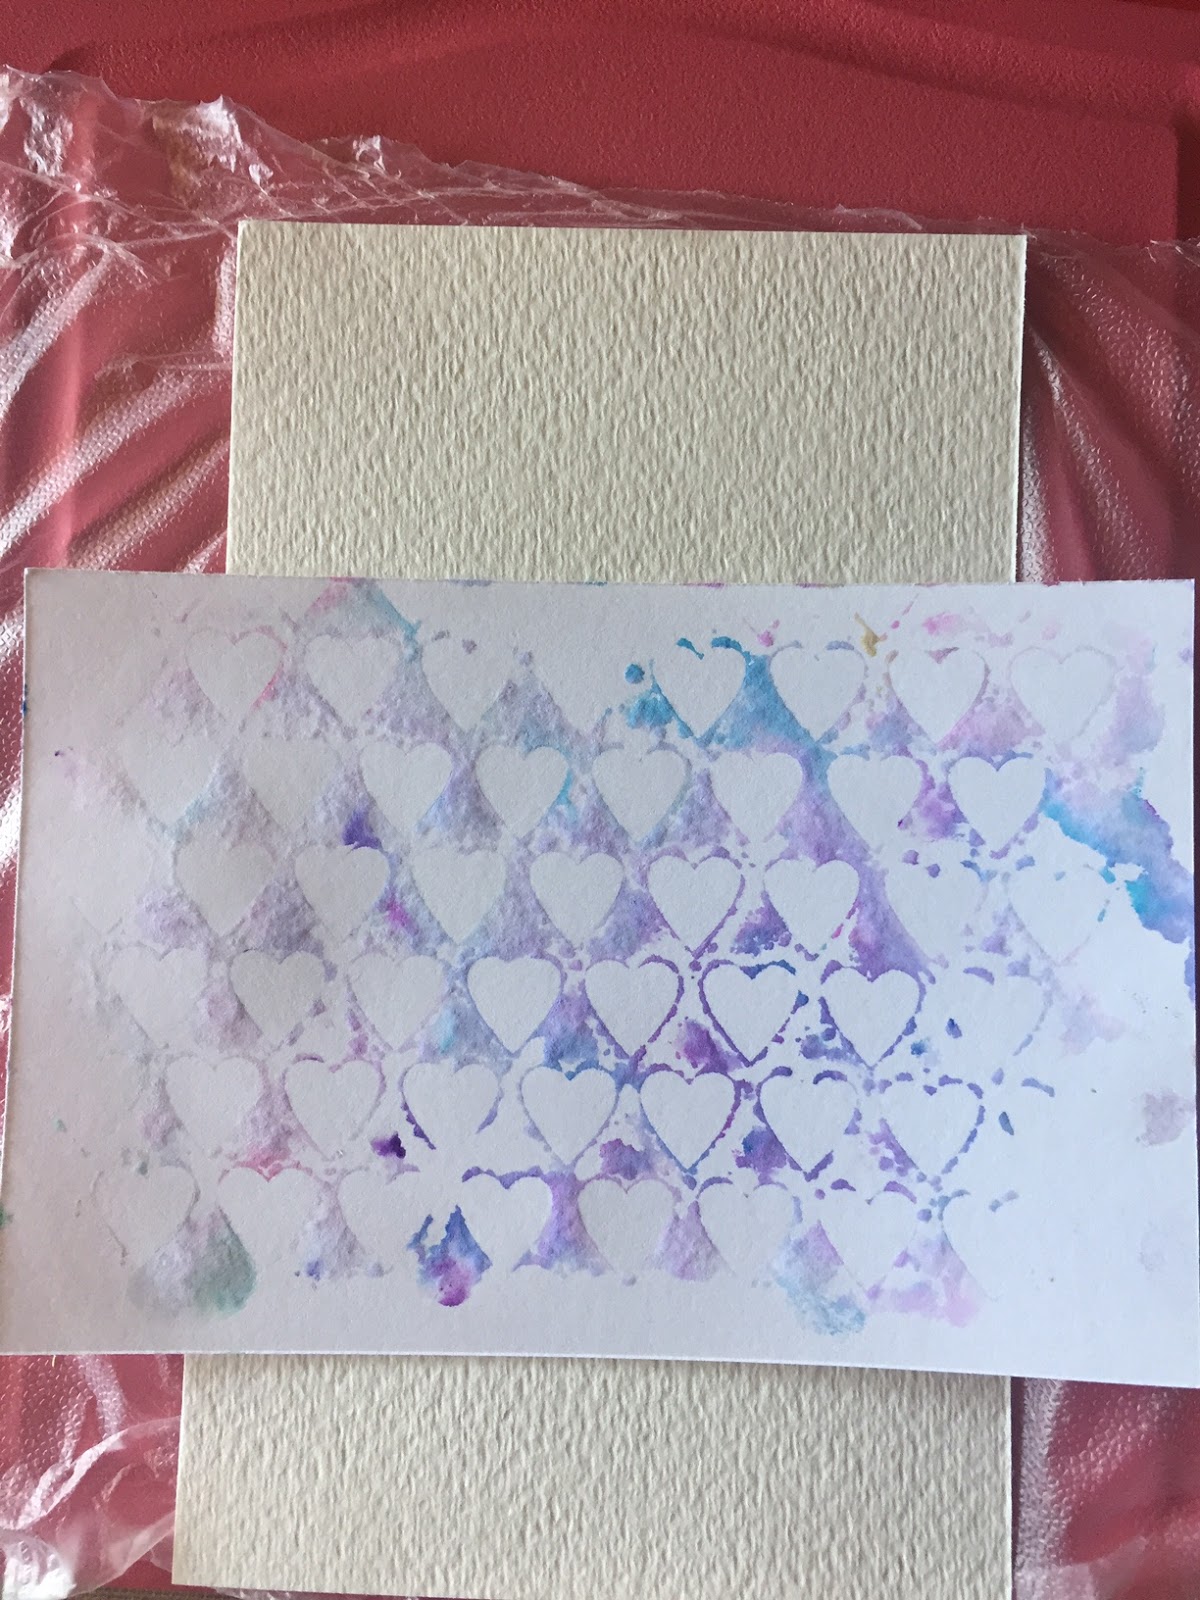
I know you're probably getting so sick of seeing this heart background but it's the only Valentine stencil I have in my defense lol.  I'll look for sales after the holiday.

I made this for someone who is a fun loving girl and loves Tiffany Blue.  I'm also trying to use my dies as much as I can.  I couldn't find my Valentine stamps and dies which were all in a bag together.  I moved to a new craft room last March and haven't seen it since so I bought a few new stamps, dies and one stencil lol.

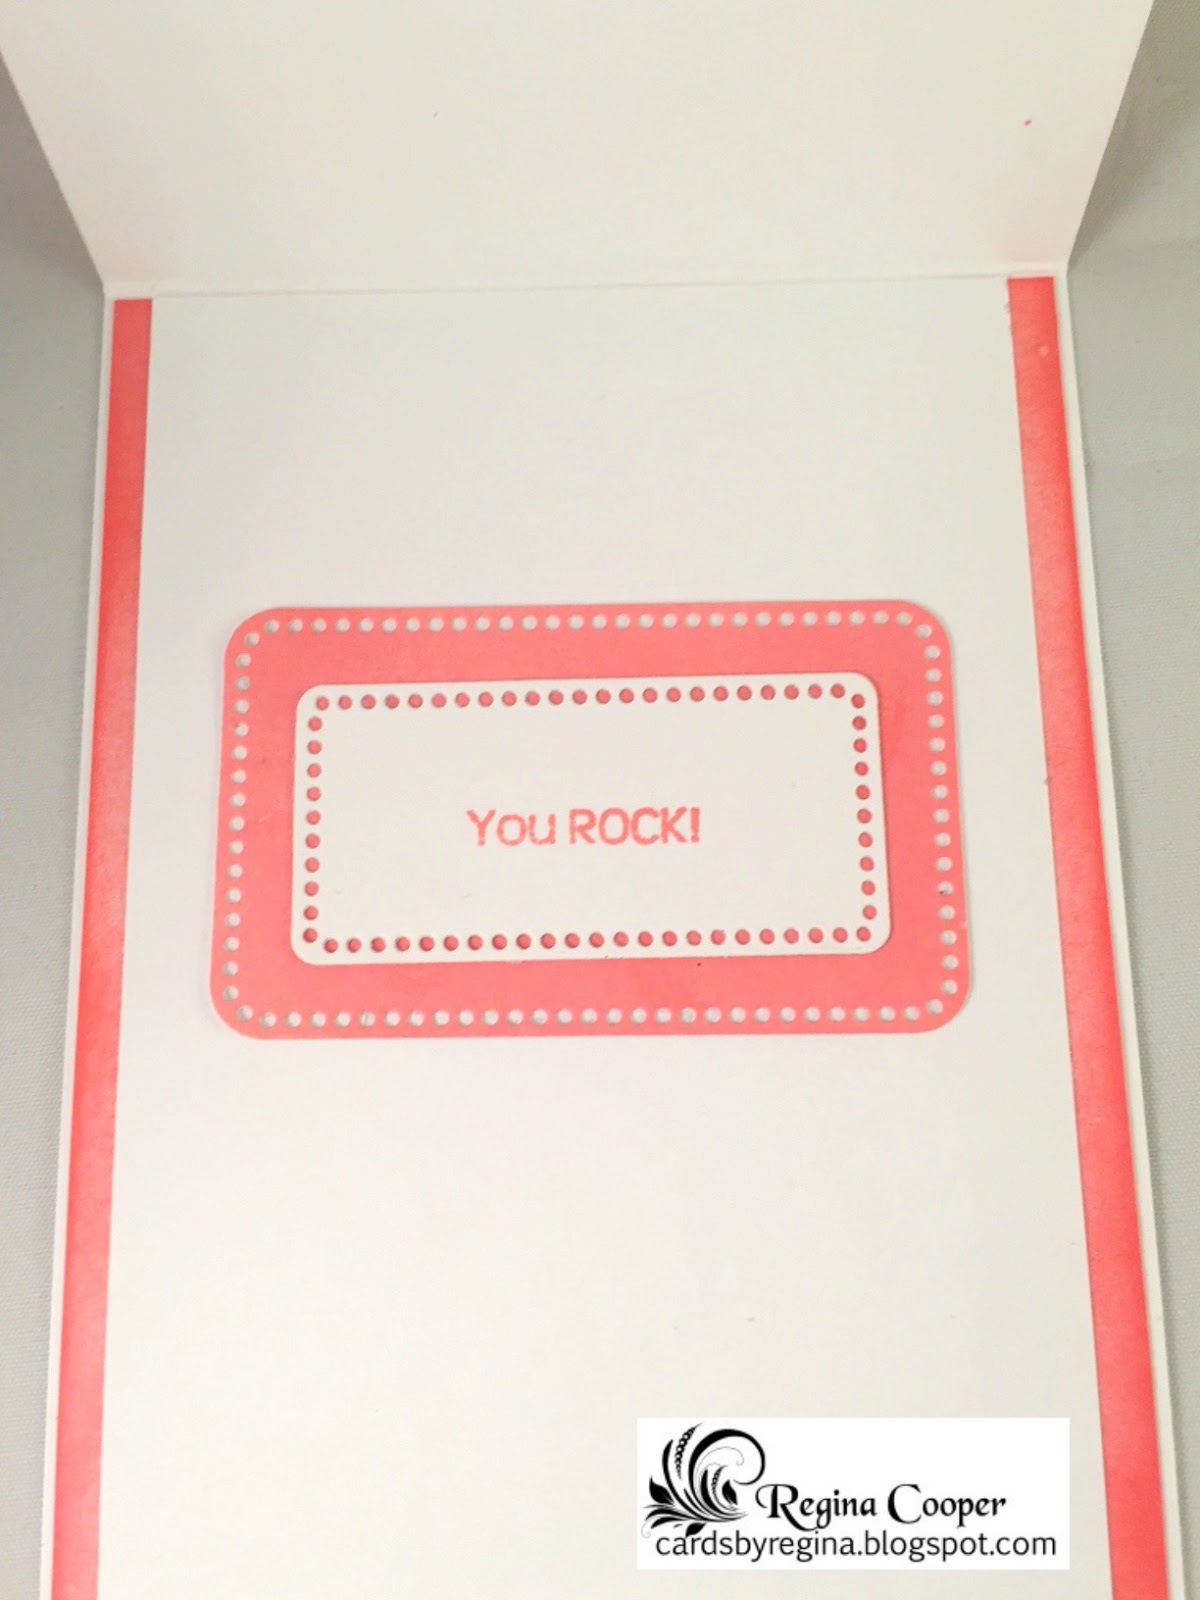
I made this card using pearlescent embossing paste.  It's pretty in real life.  I cut the die out again using the glitter aqua paper and cut the sending love part off and glued it over the sending love on the die to make it stand out, give some color.  I love the way it looks like it's floating over the background.  For the inside, I just cut out a couple of dies and added some sequins.


Supplies:


  • Gina K Designs 120# white and Turquoise Sea and Metallic Silver cardstocks
  • Aqua glitter paper, Heidi Swapp Marquee
  • DCWV Foiled Stack (for the red lips)
  • Lawn Fawn Stitched Large Rectangles
  • Simon Says Stamp Sending Love Heart Die
  • Stitched Tag Die, Paper Smooches
  • Hugs & Kisses Die, Paper Smooches
  • Balloons Die, Paper Smooches
  • Dreamweaver Pearlescent Embossing Paste
  • Fun Foam
  • Sequins, clear, Pretty Posh and Aqua, Craft Medley

I hope you have been inspired to make some Valentine cards this year.  Everyone says that when they get a card in the mail from me it really makes their day, makes them smile.  That's a big compliment to me if I can make someone's day with a card.  I have been trying to send at least 2-3 cards out a week, just because.  I am terrible at writing inside so I don't leave much space to write ha ha.

Thanks for stopping by and have a great day!


Regina


Saturday, February 11, 2017

Valentine Shaker Card in Non-Traditional Colors

Hi Everybody,

This is the third shaker card that I have ever made in the 6 years I have been making cards... I had all of my sequins and seed beads in the window part with the foam around it and adhesive on the foam all ready to go.... my hand somehow stuck to the adhesive part and it flew off the table.  O M G! I almost gave up but I was a trooper and finished my mission lol.  I hope you like it!


Here's the finished card...


I used Jennifer McGuire's technique with the Press N' Seal... you use the sticky side facing up and stick your card stock on it and it won't move so then you can stencil the entire piece.  Normally you would have tape around the edges and not get the whole piece covered.  Then you just tape down the edges of the stencil that is over the card stock.  Genius!  I used Colorburst with the stencil.  I was actually playing around with the green, blue and purple to see if I could get a masculine looking background for a Valentine card and when I was finished, there was some ink left on the stencil so I put a piece of card stock on top of it and pressed gently and got what I thought was the prettiest little background, gotten totally by accident so I used that behind the shaker window.  This is where the non-traditional color combo was born.  Here is that process, step by step:

See what I mean about you can get the entire piece of card stock? 


Sprinkle some Colorburst on the watercolor paper


Tape the stencil over the watercolor paper and spritz with water and let it do it's thing


This is what I ended up with.  That's what I love about Colorburst, you never know 
what the end result will be.


Then I laid this piece of regular card stock on top of the stencil and got this from the little bit of ink left on the stencil.  I think I was more excited about this one.  So this is what I designed my shaker card around.


I made the background of the shaker card by sponging ink on this stencil with Tim Holtz distress inks, Concord Grape and Tumbled Glass.  I thought that matched pretty close to what I got from the Colorburst.

For the inside, I used white embossing powder on a couple of stamps I chose from the Labeled with Love stamp set from Simon Says Stamp.  I then taped a heart die over that, centering it and sponged some of the Concord Grape and Tumbled Glass inks lightly over that area.  I love the end result.

I'm not sure if you want step by step on how I made the shaker card... leave a comment if you do and I'll be glad to re-post with instructions.


Supplies Used:


  • Gina K Designs Pure Luxury 120# white and Ocean Mist Card Stock
  • Simon Says Stamp, Labeled with Love stamp set (for inside card)
  • Tim Holtz Distress Inks in Concord Grape and Tumbled Glass
  • Tim Holtz Watercolor Paper
  • Colorburst Brights Asst, Violet and Ultramarine Blue
  • Heart Stencil, Gourmet Rubber Stamps brand
  • Simon Says Stamp, Sending Love Heart die
  • Fellowes Binder Cover Medium Weight (for window), I love this!
  • Gina Marie Stitched Squared dies
  • Zing White Embossing Powder
  • Craft Medley Sequins, the blues are called Rhythm n' Blues and I'm not sure what the name of the purple set is but it is same brand.
  • Kat Scrappiness 6mm and 8mm Clear Hearts (Love!)
  • Scortape
  • Fun Foam
  • Jumbo Sponge Daubers
  • Tombo Mono Adhesive

Shaker cards are fun to make, when you don't spill all of the window contents on the floor like I did lol.  I hope I've inspired you to make some.  

Thanks for stopping by and have a great day!

Regina


Friday, February 10, 2017

Hugs & Kisses Valentine Card

Hi Everybody!

Have you ever bought a die and you just had to use it no matter what kind of card, you would just make it work?  I had this going on with a couple of dies I am using on today's card and I hope I pulled it off using them together.

I love using stencils and paste, for this card I used a Heart Stencil by Gourmet Rubber Stamps and Translucent Embossing Paste by Dreamweaver.  If you have never used embossing paste, it is so much fun and so easy.  You basically just spread the paste over the stencil, which is on top of your card stock of course, using a palette knife, like frosting a cake.  Spread it evenly over the stencil making sure the paste gets in all of the stencil areas.


The transluscent hearts are so pretty.  I love making backgrounds so if you do too, this will be perfect for you to play with.  I have it in pearlescent, transluscent, silver, gold, and some shimmer glitter colors as well.

Supplies Used:


  • Gina K Designs Pure Luxury White, Red Velvet, and Metallic Silver Cardstock (Gina K Designs has the best metallic card stocks I have ever used, a heavy weight, comes in silver, gold, and copper.) 
  • The Foiled Cardstock Stack by DCWV (Die Cut With a View)
  • Hugs & Kisses Die and Stitched Tag from Paper Smooches
  • Sending Love Heart Die by Simon Says Stamp (love this die!!!  I'm making a shaker card with it today)
  • Dreamweaver Translucent Embossing Paste
  • Pallet Knife
  • Red and Silver Sequins and Red Metallic Twine, my stash
I wanted to use the stitched tag and also the hugs & kisses die for so long so I finally gave in and just put them together.  All I did was center the Sending Love heart die on the cardstock and run through Big Shot.  I hope I pulled off a decent card.  It's not my usual style.  

Try Embossing Paste!  I have pallet knives in different sizes so depending on what you're doing, you might need a large one for a large background or a small one if you're spreading it over a small area such as sections here and there of a stencil.  Let me know if you have any questions.  I am considering making videos because I get some questions and it's just easier to show because I'm pretty thorough, than to show step by step tutorial with photos.  

Thanks for stopping by and have a great day!


Regina

Thursday, February 9, 2017

Valentine Appreciation Card

Hi Everybody!

Are you working on some Valentine cards?  Time has crept up on me as usual so I'm trying to do a couple each day.  This card is for my dental hygienist, whom I have since become friends with as well.  I think it is important to show the people that help us with our health, teeth, hair, pedicures, etc., that we appreciate them.  I apologize for the photos not being clearer, the glitter hearts reflected off the light in my light box too much.  


Supplies Used:


  • Gina K Designs Red Velvet Cardstock, 120# white heavy base weight Cardstock
  • Cosmic Shimmer Paste, Silver Moon
  • Heart Stencil, Gourmet Rubber Stamps
  • Technique Tuesday, Appreciated stamp set front of card
  • Stampendous Silver Embossing Powder 
  • Heart Stitched Dies
  • Happy Valentine's Day Die, Simon Says Stamp
  • Silver Sequins, my stash
  • Happy Mail Stamp, Waffle Flower from Simon Says Stamp
  • Tim Holtz Festive Berries Ink
  • Sakura Red Star Glitter Pen (color over hearts)
  • Heart Washi Tape, stash
  • Envelopes A2, Hobby Lobby
  • Pallet Knife (to spread the shimmer paste)

I promise that the staff at your doctor's office, hairstylist, etc., will be surprised and think it is so incredibly sweet if you make them a card and what better time to tell them you appreciate them than at Valentine's Day?  I hope I inspired you today!

Thanks for stopping by and have a great day!

Regina


Wednesday, February 8, 2017

Happy Birthday Ombre' Emboss Resist Background

Hi Everybody!

I said I wasn't going to make anymore ombre' emboss resist cards but I couldn't help myself.  My boyfriend's Mom has a birthday coming up and her favorite color is green so I made this card...


I love how you can make several backgrounds and even cut out a bunch of die words and then make cards for the appropriate occasions.  For instance, you can go ahead and cut out a bunch of 'happy' word dies and they will be white, just leave them cut but still on the foam and sponge the color you want when the time comes and glitter.

I've never really put anything inside the top part of a card BUT I somehow got ink there and didn't want to start over and I actually think they look cute.  The purple balloon is because her husband liked purple so most of the cards I make for her are purple and green.  I may make a card with green and then put a purple butterfly on it, etc.  Remember, you ink the sides of the front so be careful not to get ink on the card like I did.  You don't have to ink the sides on the inside but I think it looks good because normally I would put cardstock inside so I figured it needed to be inked to match the front.


Supplies Used:


  • Deep Red Background Stamp called Woodcut Flowers
  • Birthday Greetings by Gina K Designs for the word birthday stamp
  • Die-namics Blueprints 26 My Favorite Things, word happy die from this set
  • Tim Holtz Mowed Lawn Distress Ink and Seedless Preserves ink for balloon inside
  • Altenew Wishing You stamp set for inside sentiment
  • Balloon die by Paper Smooches called Balloons
  • JudiKins Iridescent Sparkle Embossing Powder for the happy die
  • Wink of Stella clear pen on the balloons
  • Pretty Posh Clear Sequins
  • Zing White Embossing Powder
  • Jumbo Dauber Sponge

I hope you'll try this fun technique.  Again, it is from a Jennifer McGuire video called Ombre' Emboss Resist Backgrounds.  It is very recent, from about a week ago... and I've been making them and not looking back lol.

Thanks for stopping by and have a great day!


Regina


Monday, February 6, 2017

More Ombre Emboss Resist Background Cards

Hi Everybody!

Somebody stop me! I am loving making the ombre' emboss resist background cards shown in Jennifer McGuire's latest video.  I embossed 8 more yesterday.  I can go back later and sponge on the ink colors.  I made 2 more yesterday.  I think I'll stop with these and move on to Valentine cards now lol.


I used Salty Ocean in the first one for the ink color and second one, I blended Abandoned Coral and Worn Lipstick together.  I have had most of my distress inks for about 5 years and just realized I need refills for several of the ones I got originally, such as the Worn Lipstick.  The sentiment stamps both came from a Hero Arts stamp set.  I don't see a name on it.  It must be old because the stamps have all turned yellow.  Hmmm....   Don't you love the sparkly embossing powder on the die cuts?  I had never thought to do that.  I bought the JudiKins Irridescent embossing powder like Jennifer used and it worked great, just a little messy.  I had it everywhere.  I later realized I had a Stampendous Kaleidescope embossing powder, very similar looking to the JudiKins.  I had never used it.  I probably thought it was glitter when I bought it LOL!

I think it's great to have several of these on hand for different occasions.  Leave a comment if you have any questions and/or how to contact you.

Thanks for stopping by and have a great day.

Regina


P.S.  I was playing with an editing program and changed the Exposure on the first card.  I didn't realize it turned the background yellow.  Ugh!

Saturday, February 4, 2017

Ombre' Emboss Resist Background Technique

Hi Everybody!

I love watching Jennifer McGuire's videos... she causes me to buy so many products lol.  I've been making cards for about 5 years but I still learn things from her and especially love her tips and tricks.

These cards were inspired by one of her latest videos.  I have so many background stamps that I hardly use.  Matter of fact, I bought most of them off FB Sales pages and never used them.  I have always loved emboss resist and I also love sponging ink.  These cards looked so beautiful to me that I had to create some for myself.  This is a way to make lots of cards in one sitting.  Here are a couple of the cards I made....


I

The video is called Easy Ombre' Backgrounds on YouTube under Jennifer McGuire Ink.  If you would like for me to explain how I made these, I'll be glad to do another post.  I just thought you might like to watch the video instead. I'm a visual person and it's easier for me to learn from watching.  I bought an Amazon Fire Stick so now I can watch her videos on my tv and pause with the remote.  (Squeee....)


Here are the supplies I used in the cards above:


  • Heartfelt Creations Kissed Fleur Background
  • Tim Holtz Abandoned Coral Distress Ink
  • Lawn Fawn Hugs Die
  • Stick It and Fun Foam to go on die
  • JudiKins Iridescent Sparkle Embossing Powder (this is what goes on die to make sparkly, I got on Amazon because Simon Says Stamp was out of stock)  Love!
  • The stamp set for sentiments on front of both is from Hero Arts.  I got it at Michaels but I don't know a name.  I can send you a pic of the stamp set if you would like to see.
  • Inside Sentiment is from Close To My Heart, Card Chatter Sympathy Occasions
  • Recollections white embossing powder  (not crazy about this brand but it's what I have on hand.  Going to try Hero Arts next, because Jennifer likes it LOL)
  • Jumbo Sponge Daubers
For the second card, everything is the same as above except the background stamp is from Deep Red called Woodcut Flowers.  So pretty!

In the picture with the other color backgrounds, I used these 2 stamps and also Deep Red Leaves Background, and Impression Obsession called Wispy.

You don't have to use background stamps.  You can use any stamp and just stamp it several times to make a background.  

On the sides of the cardstock out and inside, I just sponged on the same color ink as I used over the background so it perfectly matches and also stamped the sentiment inside with same color.  How genius of her!

I used the following Tim Holtz Distress Inks on the others:
  • Picked Raspberries
  • Shaded Lilac
  • Salty Ocean
  • Squeezed Lemonade
  • Seedless Preserves
  • Twisted Citron
  • Festive Berries (I was going to use Candied Apple here but couldn't find it)
  • Chipped Sapphire
  • Peacock Feathers
Warning:  Once you start this you won't be able to stop!  

If you have any questions, leave a comment or send me a message on FB.  Thanks for stopping by and have a great day!

P.S.  The Happy Mail stamp is from Waffle Flower.  I got this at Simon Says Stamp for about $3.99.  


Regina

Friday, February 3, 2017

Valentine's Day Card with an Ombre Ink Background

Hi Everybody!

I love this card!  It is so simple yet so pretty to me.  I used Hero Arts Ombre Ink with the red and pink colors.  I used the Tim Holtz round  blending tool.  I'm still trying to get used to using these because I've always used the jumbo sponge daubers.  At first I wasn't sure I was going to like this but I let it dry and then went over it all a couple more times and it looked fabulous.  Here's my card...


Isn't that background gorgeous?  I used a stamp set and 2 dies from Simon Says Stamp called Labeled with Love and the dies are called Stacked Hearts and Heart Frames.  Those hearts are so pretty, they all fit inside one another and you can use them all in different colors, alternating colors or a couple like I did here.  I cut the stacked hearts die out with white cardstock and since the background is so pretty, left it at that.  You can also cut out the hearts using different colors and put them inside the hearts on the die.  I plan on making other cards this way as well.  I used Versamark Ink and black embossing powder from Recollections called Ebony.

Valentine's Day Cards are so much fun!  Have you started making yours??

Thanks for stopping by and have a great day!


Regina

Thursday, February 2, 2017

Happy Valentine's Day with Stencil and Paste

Hi Everybody,

Can you believe it's almost Valentine's Day??  Seems like it was just New Years.  Why does time seem to speed by as we get older?  Last year I was busy with etching and didn't get to make any Valentine cards so I will make up for that this year.  Here is my first one....


I used Dreamweaver Pearlescent Embossing Paste with a Heart Stencil from
Gourmet Rubber Stamps.  I just spread the paste over the stencil in a thin coat and put the excess back in the jar.  Pull the stencil off carefully and let it dry.  You can also mix reinker with the paste.  On your craft mat or an acrylic block put 1 or 2 drops of reinker down and a small scoop of the paste and just mix together.  This is what pink reinker looks like mixed with the transluscent paste.  I had some left over so I punched out some hearts and covered them with it.  The die is from Simon Says Stamp called Big Valentine's Day Wafer Die.  I used DCWV (Die Cuts With a View) Foil Cardstock Stack for that pretty red metallic look.


For the inside, I used a stamp from Hero Arts.  How cute is this to send to your crafty buddies?  I got it at Simon Says Stamp.  Of course, Jennifer McGuire was my inspiration to get that stamp.  It's a pretty good size too.  The first time I stamped, I used Versafine Onyx Black and WOW clear embossing powder to give it some shine but I couldn't get it to cover perfectly.  So then I used Versamark and Recollections Ebony embossing powder and that worked perfect.  The oval stitched dies are from Gina Marie.  Her dies are great and on average cost about $10.  The glitter hearts you see there as embellishments are from the Dollar Tree!  I found packs of glitter fun foam and it cuts wonderfully.  Check out your Dollar Tree because I've seen the glitter fun foam of course, sequins, enamel dots etc.  You just have to hit it at the right time.

I hope I've inspired you to make some backgrounds using your stencils and embossing paste.  Start making those Valentine Cards!  :)

Thanks for stopping by and have a great day!


Regina